Table of Contents
- Understanding Bespoke Curved Glass
- Curved Glass Measuring Guide: Site Survey and Specification
- Curved Glass Frames: Selecting Support Systems and Materials
- Glass Fabrication: Tempering, Cutting, and Edge Finishing
- Curved Glass Handling and Transport: Packing and Logistics
- Curved Glass Installation Process: Step-by-Step On-Site Fitting
- Common Installation Challenges and Troubleshooting
- Frequently Asked Questions
Last Updated: October 5, 2026
Understanding Bespoke Curved Glass
Curved glass installation requires precision, planning, and specialist knowledge. Unlike flat glazing, bespoke curved glass demands careful measurement, custom fabrication, and methodical on-site fitting. This guide covers the complete process, from survey to final inspection.
At Precision Glass Ltd, we’ve completed many curved glass projects for architects, developers, and homeowners across the South East. Success comes down to getting the fundamentals right early: accurate site measurement, clear fabrication specifications, and proper handling throughout.
Curved glass appears in many luxury projects: staircase balustrades, corner windows, curtain walls, and furniture glazing all benefit from bespoke curved panels. But a single measurement error or tolerance miscalculation can delay a project by weeks and cost thousands in rework.
Curved Glass Measuring Guide: Site Survey and Specification
Accurate measurement is the foundation of every successful curved glass installation. Rush it, and everything downstream suffers.
Taking Accurate Opening Dimensions
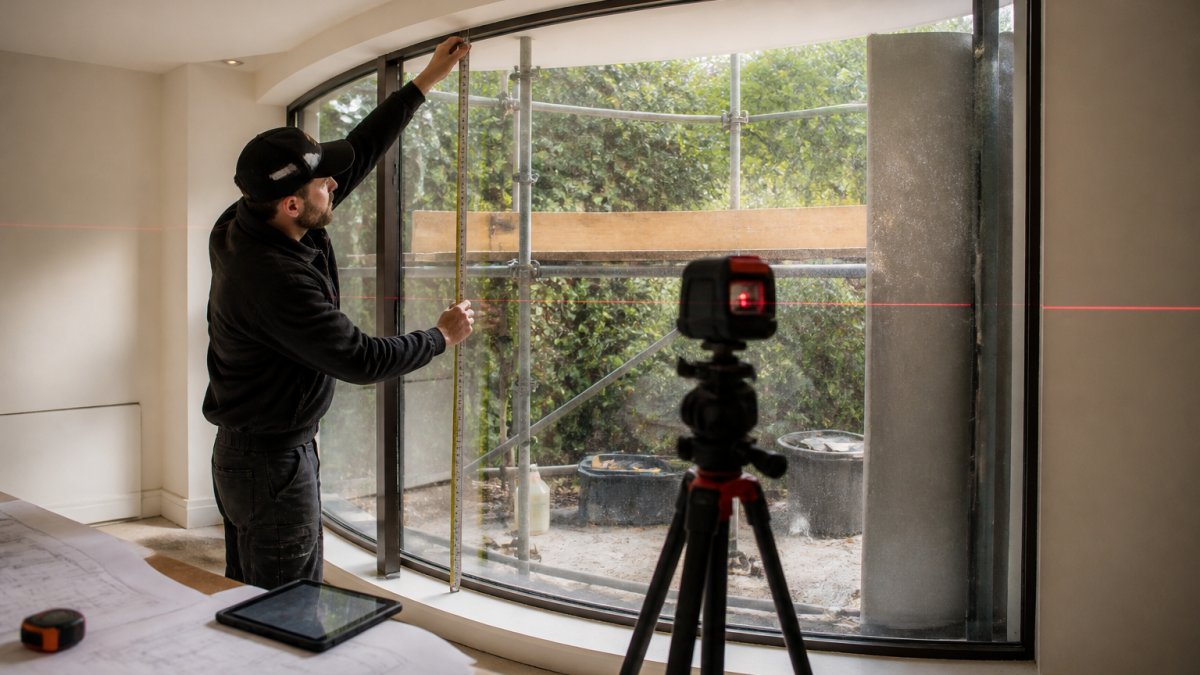
Measure width, height, and depth at multiple points, not just once at the centre.
Most openings are not perfectly square or plumb. Walls bow. Frames settle. Floors are not level. You need to know this before ordering fabrication.
Take measurements at:
- Top, middle, and bottom (for vertical openings)
- Left, centre, and right (for horizontal openings)
- All four corners if the opening is large
Record the maximum and minimum dimensions. The panel must fit the tightest tolerance, so fabricate to the smallest opening dimension.
Check for obstructions too: outlets, pipes, structural members, or existing fixings can block clamp placement. Document these in writing and photographs.
Establishing Radius and Arc Geometry
The radius defines the curve: a smaller number curves more sharply, a larger one more gently.
Measure the radius with a flexible rule or radius gauge, against the existing curved surface (if replacing) or from the architect’s drawings.
Record the radius in millimetres and the arc, the portion of the full circle the curve spans (90 degrees is a quarter circle, 180 degrees a semicircle). The arc determines the panel’s overall geometry.
For new builds, the architect’s specification should state the radius and arc. If it doesn’t, ask before proceeding: guessing the radius leads to a panel that doesn’t fit.
Your fabricator will confirm what’s achievable.
Creating Templates for Fabrication
A template is a full-scale pattern of the curved panel, translating site measurements into a shape the fabricator can use to cut and bend glass accurately.
Use flexible materials: hardboard, plywood, or heavy cardboard, cut or bent to match the exact curve and dimensions measured on site.
The fabricator uses the template to set up bending equipment, position cutting tools, and verify the finished panel matches the site geometry.
A well-made template eliminates guesswork, bridging site reality and fabrication precision.
Curved Glass Frames: Selecting Support Systems and Materials
The frame or support system holds the curved glass panel in place, strong enough to support its weight and handle wind loads, thermal movement, and installation stresses.
Frameless Versus Framed Solutions
A frameless solution uses minimal visible framing, with clamps or connectors gripping the edges of the curved glass for a clean, modern aesthetic and unobstructed views.
Frameless systems suit interior applications: staircase balustrades, shower enclosures, furniture glazing. They’re visually striking but require precise fabrication and careful installation.
A framed solution uses a visible aluminium, steel, or timber frame around the perimeter, carrying most of the structural load with the curved glass sitting within it.
Your choice depends on design intent, application, and building regulations; an architect should specify which approach suits the project.
Rail and Connector Placement for Curved Panels
For frameless curved glass, connectors must support the weight and resist lateral loads evenly.
Spacing matters: too far apart and the glass deflects or vibrates; too close together adds cost and visual clutter.
Typical spacing is 300-600 mm, depending on panel size, glass thickness, and load; your fabricator or structural engineer will calculate the exact figure.
Clamps and connectors must be stainless steel or equivalent corrosion-resistant material, since mild steel rusts and stains the glass. They should be adjustable for fine-tuning alignment during installation.
For curved panels, connectors must follow the curve: the rail itself must be curved, or connectors individually angled to grip the curved edge.
Glass Fabrication: Tempering, Cutting, and Edge Finishing
Once specifications are confirmed, the glass moves to fabrication.
Hot Bending and Toughened Glass Manufacture
Curved glass is made by heating flat glass in a kiln and bending it over a mould; as it cools, it retains the curved shape.
The curved glass is then tempered (toughened): reheated and rapidly cooled to create internal stress that makes it much stronger and safer. If tempered glass breaks, it shatters into small, relatively harmless pieces rather than sharp shards.
Tempered curved glass is essential wherever safety matters: balustrades, shower enclosures, exterior glazing. For interior furniture glazing, some projects use annealed curved glass, but this is less common and less safe.
The fabricator’s kiln size limits maximum panel dimensions. Very large curved panels may need to be made in sections and joined on site, adding complexity and cost.
Tolerance Specifications and Quality Checks
Curved glass fabrication has tighter tolerances than flat glass, because the curve introduces extra variables.
Before accepting delivery, inspect the curved glass visually for:
- Chips or cracks in edges
- Visible inclusions or bubbles
- Discolouration or haze
- Any deviation from the expected curve
Curved Glass Handling and Transport: Packing and Logistics
Curved glass is fragile and expensive; transport damage is costly and delays installation.
Safe Packing and Securing Curved Panels
Curved panels must be packed individually. Never stack curved glass, even with padding: the weight and vibration during transport will cause damage.
Use wooden crates or foam-lined boxes, with the panel sitting in a curved cradle that supports the glass along its entire curve. Padding should be soft but firm: foam, felt, or rubber, not hard materials.
Secure the crate with straps or bracing so it cannot shift, and label it clearly: “FRAGILE,” “CURVED GLASS,” “DO NOT STACK.”
For large panels, use a specialist glass transport company with vehicles designed for curved glass, custom cradles, and shock-absorbing suspension. The cost is worth the protection.
Lifting Equipment and Crew Requirements
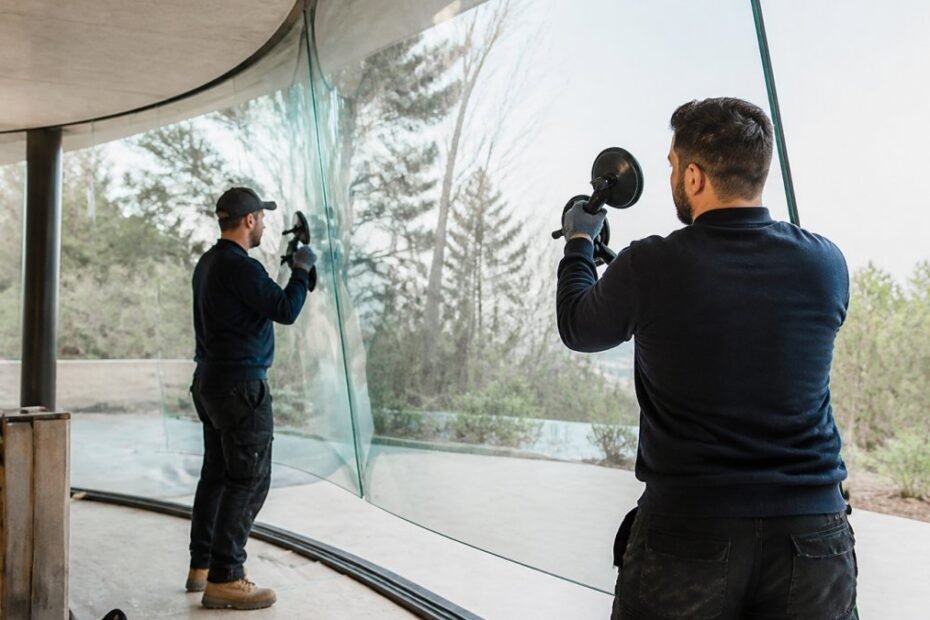
On site, lifting curved glass requires proper equipment and trained crew. Never lift a large curved panel by hand, the risk of dropping it is too high.
Use a glass lifter or vacuum lift system to grip the glass safely and distribute the load evenly. For very large panels, use a crane with a spreader beam to prevent flexing under its own weight.
The crew should include:
- At least two people to guide and position the panel
- One person operating the lift or crane
- One person coordinating and checking alignment
- A supervisor overseeing the installation
For exterior installations or work at height, follow company safety procedures and building regulations, using harnesses, barriers, and spotters as required.
Curved Glass Installation Process: Step-by-Step On-Site Fitting
This is the most critical phase: poor installation can undo months of good planning and fabrication.
Pre-Installation Checks and Site Preparation
Before the curved glass arrives, prepare the site.
Check that the opening is ready:
- Frames secure and plumb
- Obstructions cleared
- Support structures (rails, clamps, connectors) installed and aligned
- Opening dimensions match the fabrication specification
Verify the curved glass arrived undamaged, inspecting for chips, cracks, or deviations from specification. If there’s any damage, contact the fabricator before proceeding.
Check weather conditions: curved glass installation is easier in dry, mild weather, while cold, wet, or windy conditions complicate the work and increase accident risk.
Positioning, Alignment, and Adjustment
Position the curved glass carefully, raising it slowly with the lifting equipment. Guide it with soft blocks or padding rather than gripping the glass, to avoid stressing the edges.
Align the panel to the opening, checking the curve matches the site geometry, and use shims or adjustment bolts in the connectors to fine-tune position.
For frameless installations, alignment is critical: the panel must sit evenly in all clamps, or uneven stress may crack the glass.
Check alignment in three planes:
- Vertical (plumb)
- Horizontal (level)
- Depth (distance from wall or frame)
Verify with a laser or spirit level: small adjustments now prevent problems later.
Fixing Holes, Clamps, and Connector Installation
Once aligned, install the connectors and clamps that hold the panel in place.
For frameless systems, clamps grip the top and bottom edges. Tighten them gradually, alternating between clamps to distribute load evenly: over-tightening one clamp can stress the glass and cause cracking.
Drill holes for fixings, wall anchors, baluster posts, or frame connections using a diamond-tipped bit cooled frequently with water, since drilling heats the glass and can cause thermal stress or cracking.
Countersink holes slightly so fixings sit flush, preventing sharp edges and improving aesthetics.
Sealing, Weatherproofing, and Final Inspection
Once secured, seal any gaps between the curved glass and the frame or wall.
Use a high-quality silicone sealant in a continuous bead along the edges, smoothed with a wet finger or tool. Silicone is flexible, allowing for thermal movement as the glass expands and contracts.
For exterior installations, use a two-stage seal: structural silicone on the back and weather sealant on the front, preventing water infiltration and maintaining the weather seal over time.
Inspect the installation:
- Curved glass secure and immobile
- All clamps and connectors tight
- Seals continuous and neat
- Moving parts (hinged panels, sliding elements) operate smoothly
- No cracks, chips, or damage introduced during installation
Document the installation with photographs as evidence the work was completed to specification, and to help with future maintenance or repairs.
Common Installation Challenges and Troubleshooting
Most curved glass installations go smoothly when planning is thorough. But problems do occur.
Panel doesn’t fit the opening. This usually means dimensions were measured incorrectly or the opening has moved. Verify the opening dimensions again.
Glass cracks during installation. Cracks usually result from uneven loading, one clamp tightened too much, or the panel forced into misalignment.
Water leaks around the edges. This usually means the sealant is incomplete or has failed.
Curved glass vibrates or moves in the wind. This suggests connectors aren’t tight enough or the support system isn’t stiff enough.
Curved glass installation is complex but manageable with proper planning and execution.
At Precision Glass Ltd, we handle the entire process: measurement, design, fabrication, and installation.
Frequently Asked Questions
How is bespoke curved glass measured before installation?
Accurate measurement begins with a detailed site survey of the opening dimensions, including width, height, and depth at multiple points. The radius and arc geometry must be established using templates or digital scanning. Measurements are taken perpendicular to the wall plane to account for any irregularities. These specifications are then used to create fabrication templates, ensuring the curved glass panel fits precisely within its frame and support system.
What type of frame is needed for curved glass installation?
Curved glass frames depend on the project’s design intent and structural requirements. Frameless solutions use stainless steel clamps and connectors positioned at precise intervals along the curved edges. Framed options employ curved rails or aluminium frames that follow the glass geometry. The choice affects both visual appeal and functional performance. Rails and connectors must be positioned to distribute loads evenly across the curved panel’s radius, and all fixing holes are drilled during fabrication to exact tolerances.
How do you handle and transport curved glass safely?
Curved glass panels require specialist packing using foam cradles, timber frames, and protective wrapping to prevent edge damage during transport. Lifting equipment such as vacuum lifts or spreader bars must be used to distribute weight evenly across the panel’s curved surface. Two or more trained crew members are essential for safe handling. Panels must be transported horizontally in a secure vehicle with suspension suitable for the weight. Upon arrival, panels should be inspected for any transport damage before installation begins.
What happens if there are gaps or misalignment after curved glass installation?
Minor gaps (typically up to 3-5 millimetres) are accommodated using sealants and gaskets selected for flexibility and weather resistance. Misalignment during installation can usually be corrected by adjusting clamps or connectors before final tightening. Pre-installation checks, including verification of opening dimensions and support structure alignment, reduce these issues significantly. If structural movement or unforeseen site conditions cause larger gaps, additional packing or shims may be required. A professional installer will identify and resolve these issues before sealing and inspection.